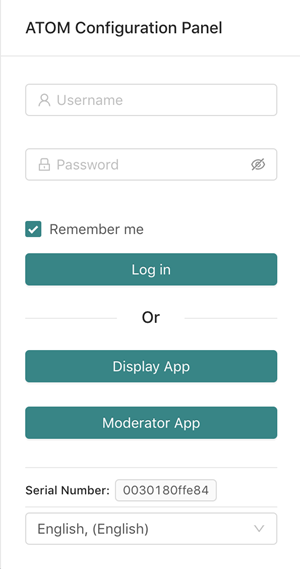
Users need to enter credentials to access the Dashboard. Note that the moderator and display applications may be accessed without credentials:
After entering the appropriate credentials, users will have access to the dashboard. The Display and Moderator applications are accessible from any of the dashboard pages as well. The Moderator application on the dashboard has the same functionality as the Moderator mobile application. This means events may be created and administered from the dashboard Moderator App. Users also have the option to select from various supported languages. The dashboard user interface will be presented in the selected language.
Follow the links below to jump to a particular screen:
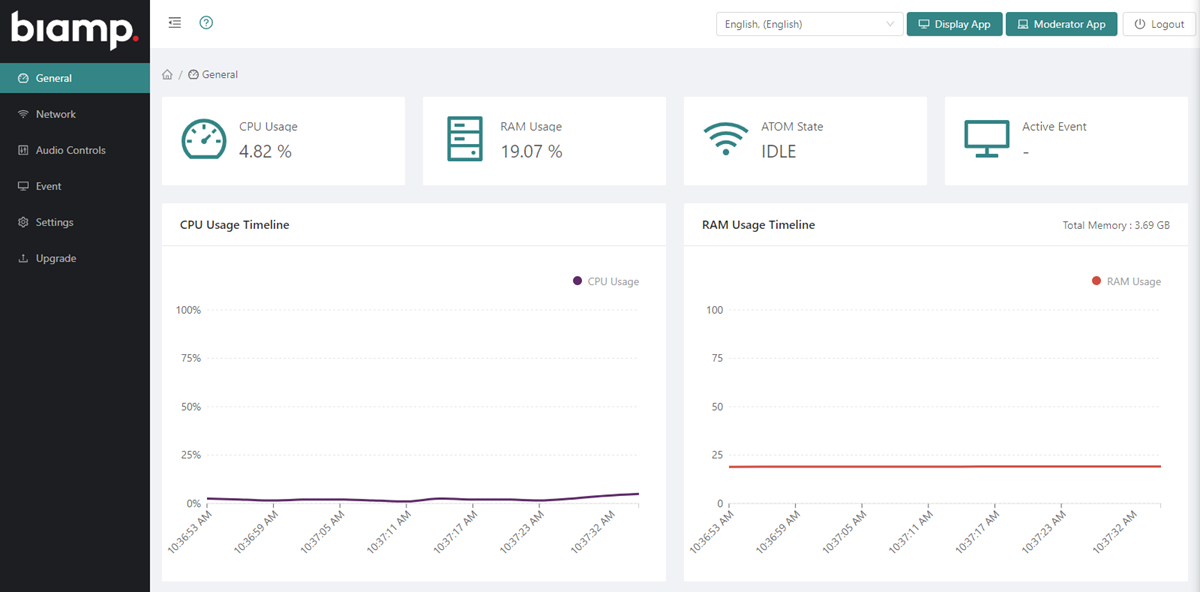
The General information page shows CPU and RAM usage of the ATOM as well as if the ATOM is currently in an event. If an event is active, the event name will be displayed at right. All information on the General page is read-only. The Display and Moderator applications may be accessed via buttons at the top of the page as well as the option to select language preference.
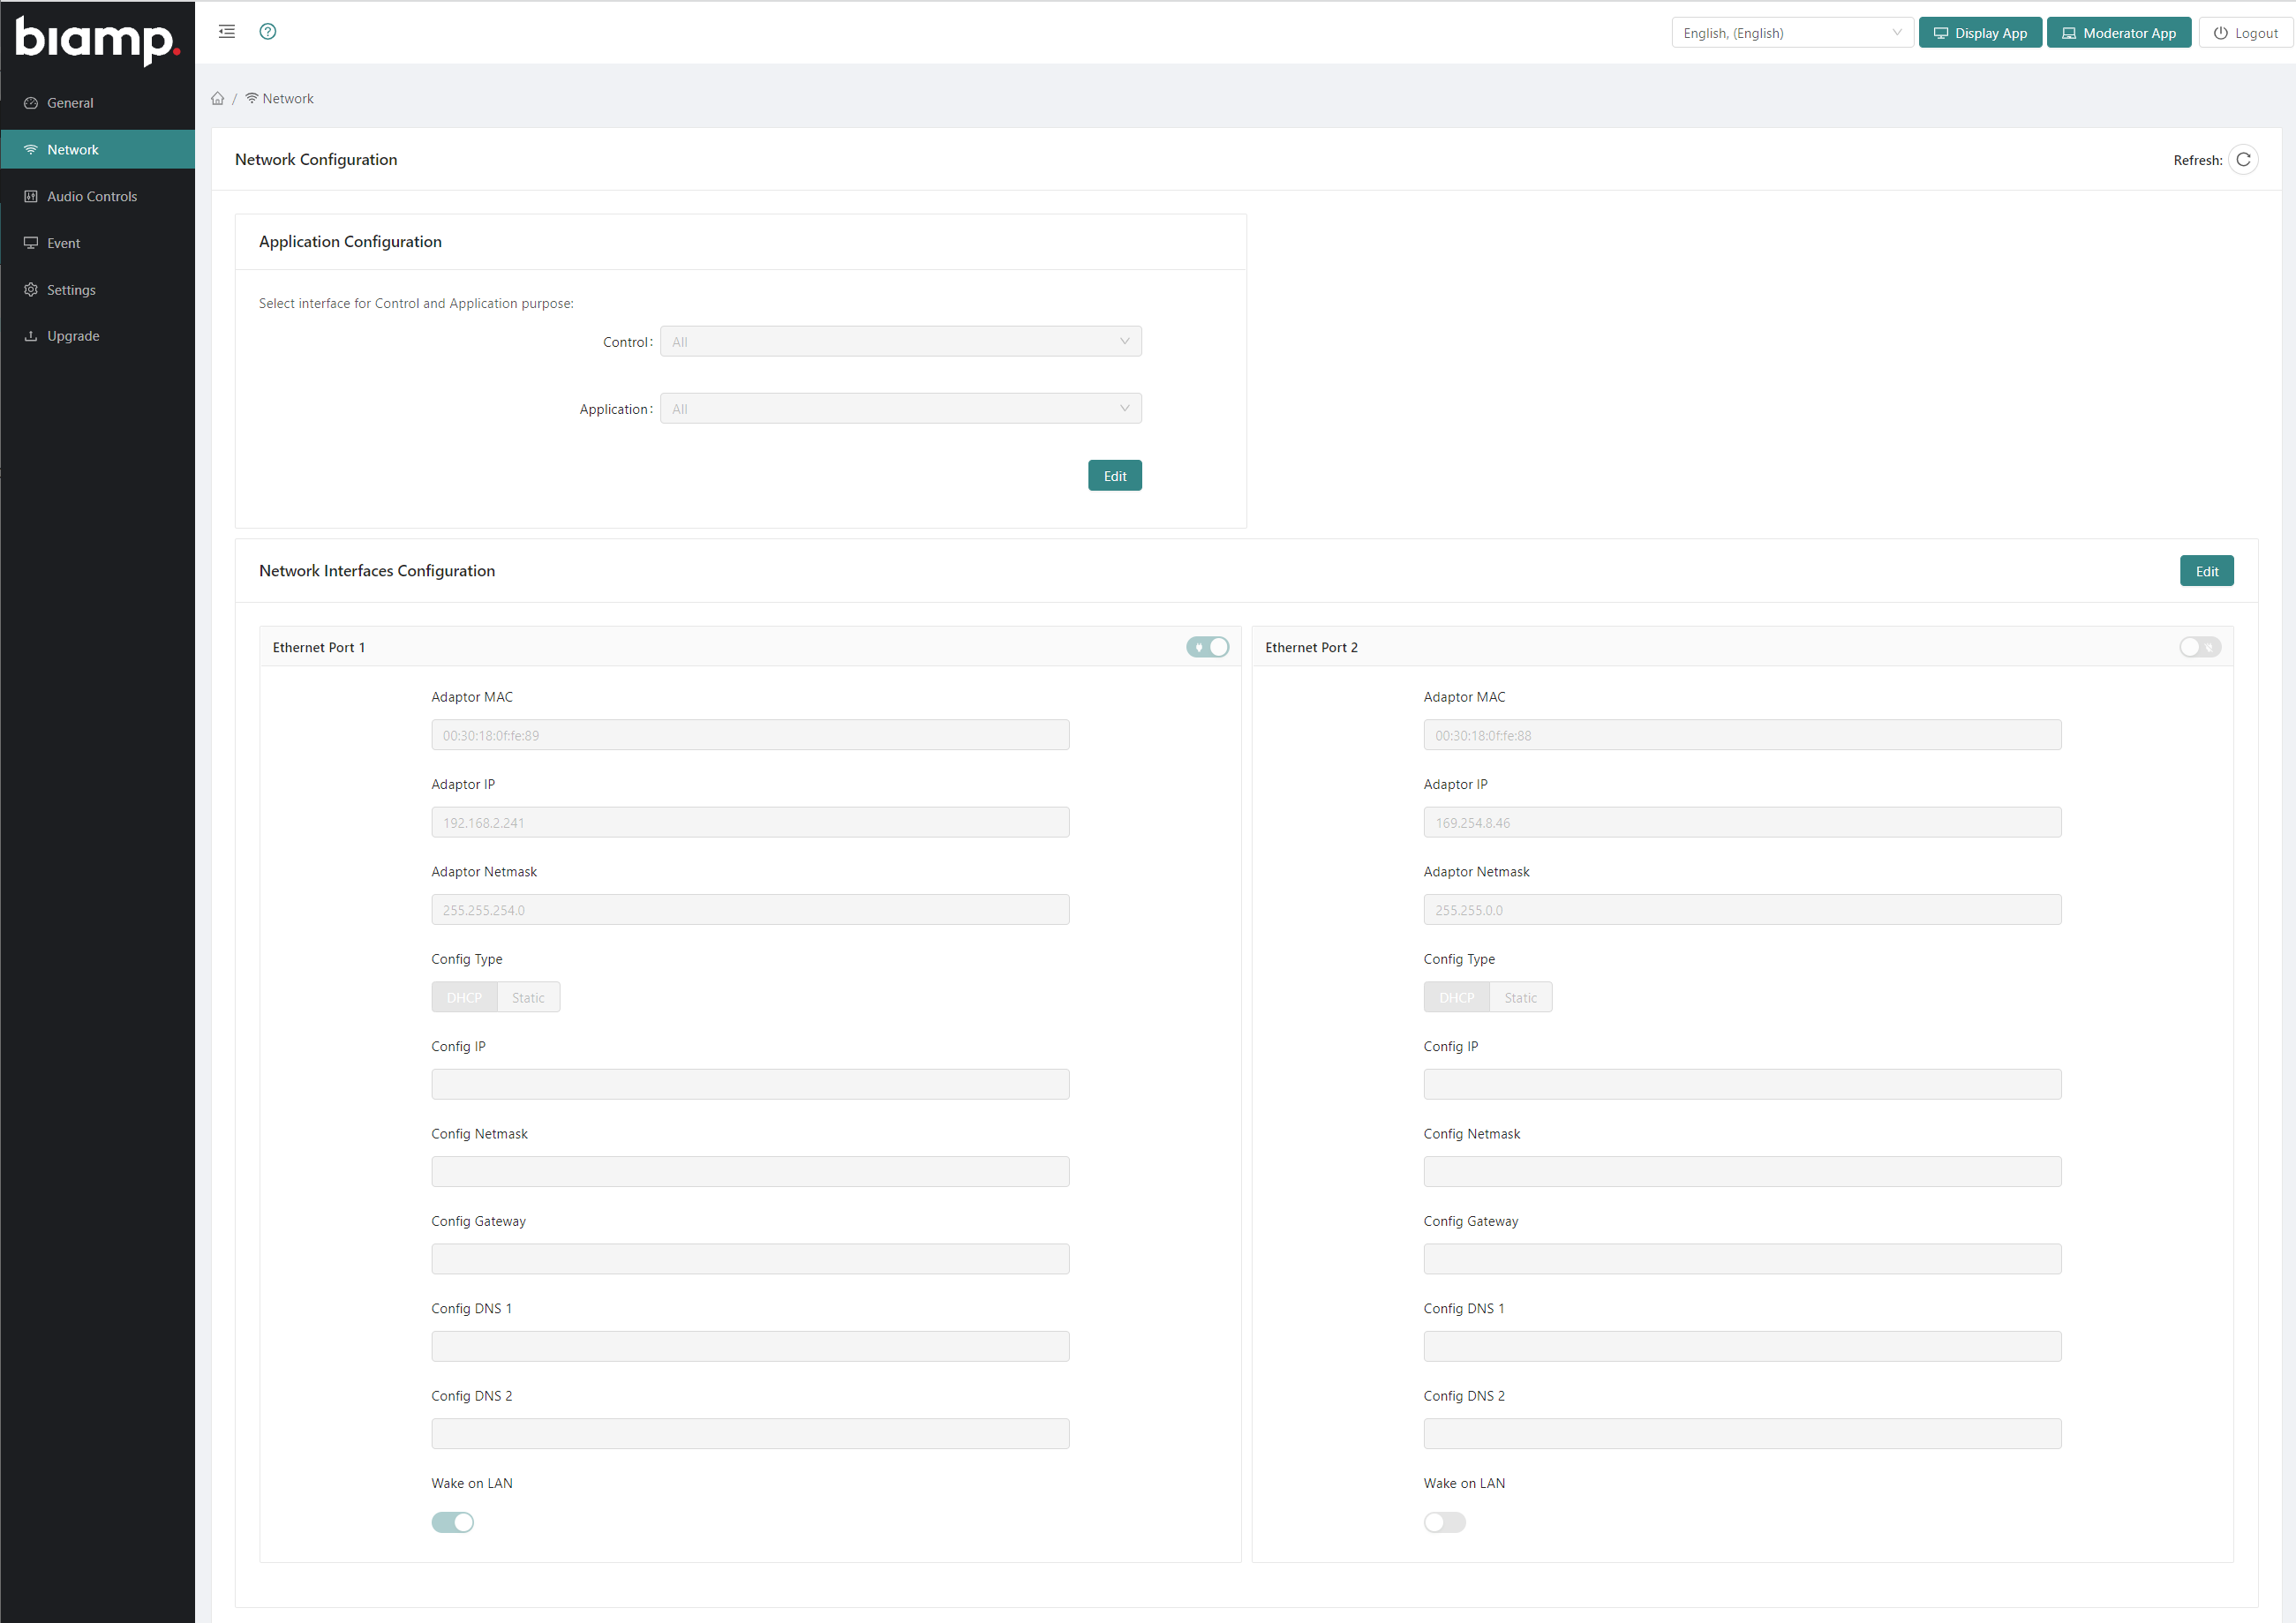
The network page allows configuring of the ATOM's two RJ-45 network ports. The Application Configuration window allows a user to set either of the Ethernet ports to Control or Application. Further settings may be adjusted per-port in the Interfaces Configuration window. Click Edit to make changes.
In order to use the Wake on LAN feature, a Wake on LAN application needs to be installed on the desktop. The Wake on LAN option must be enabled on the ATOM for each of the connected Ethernet port(s).
The Audio page has two options to view information:
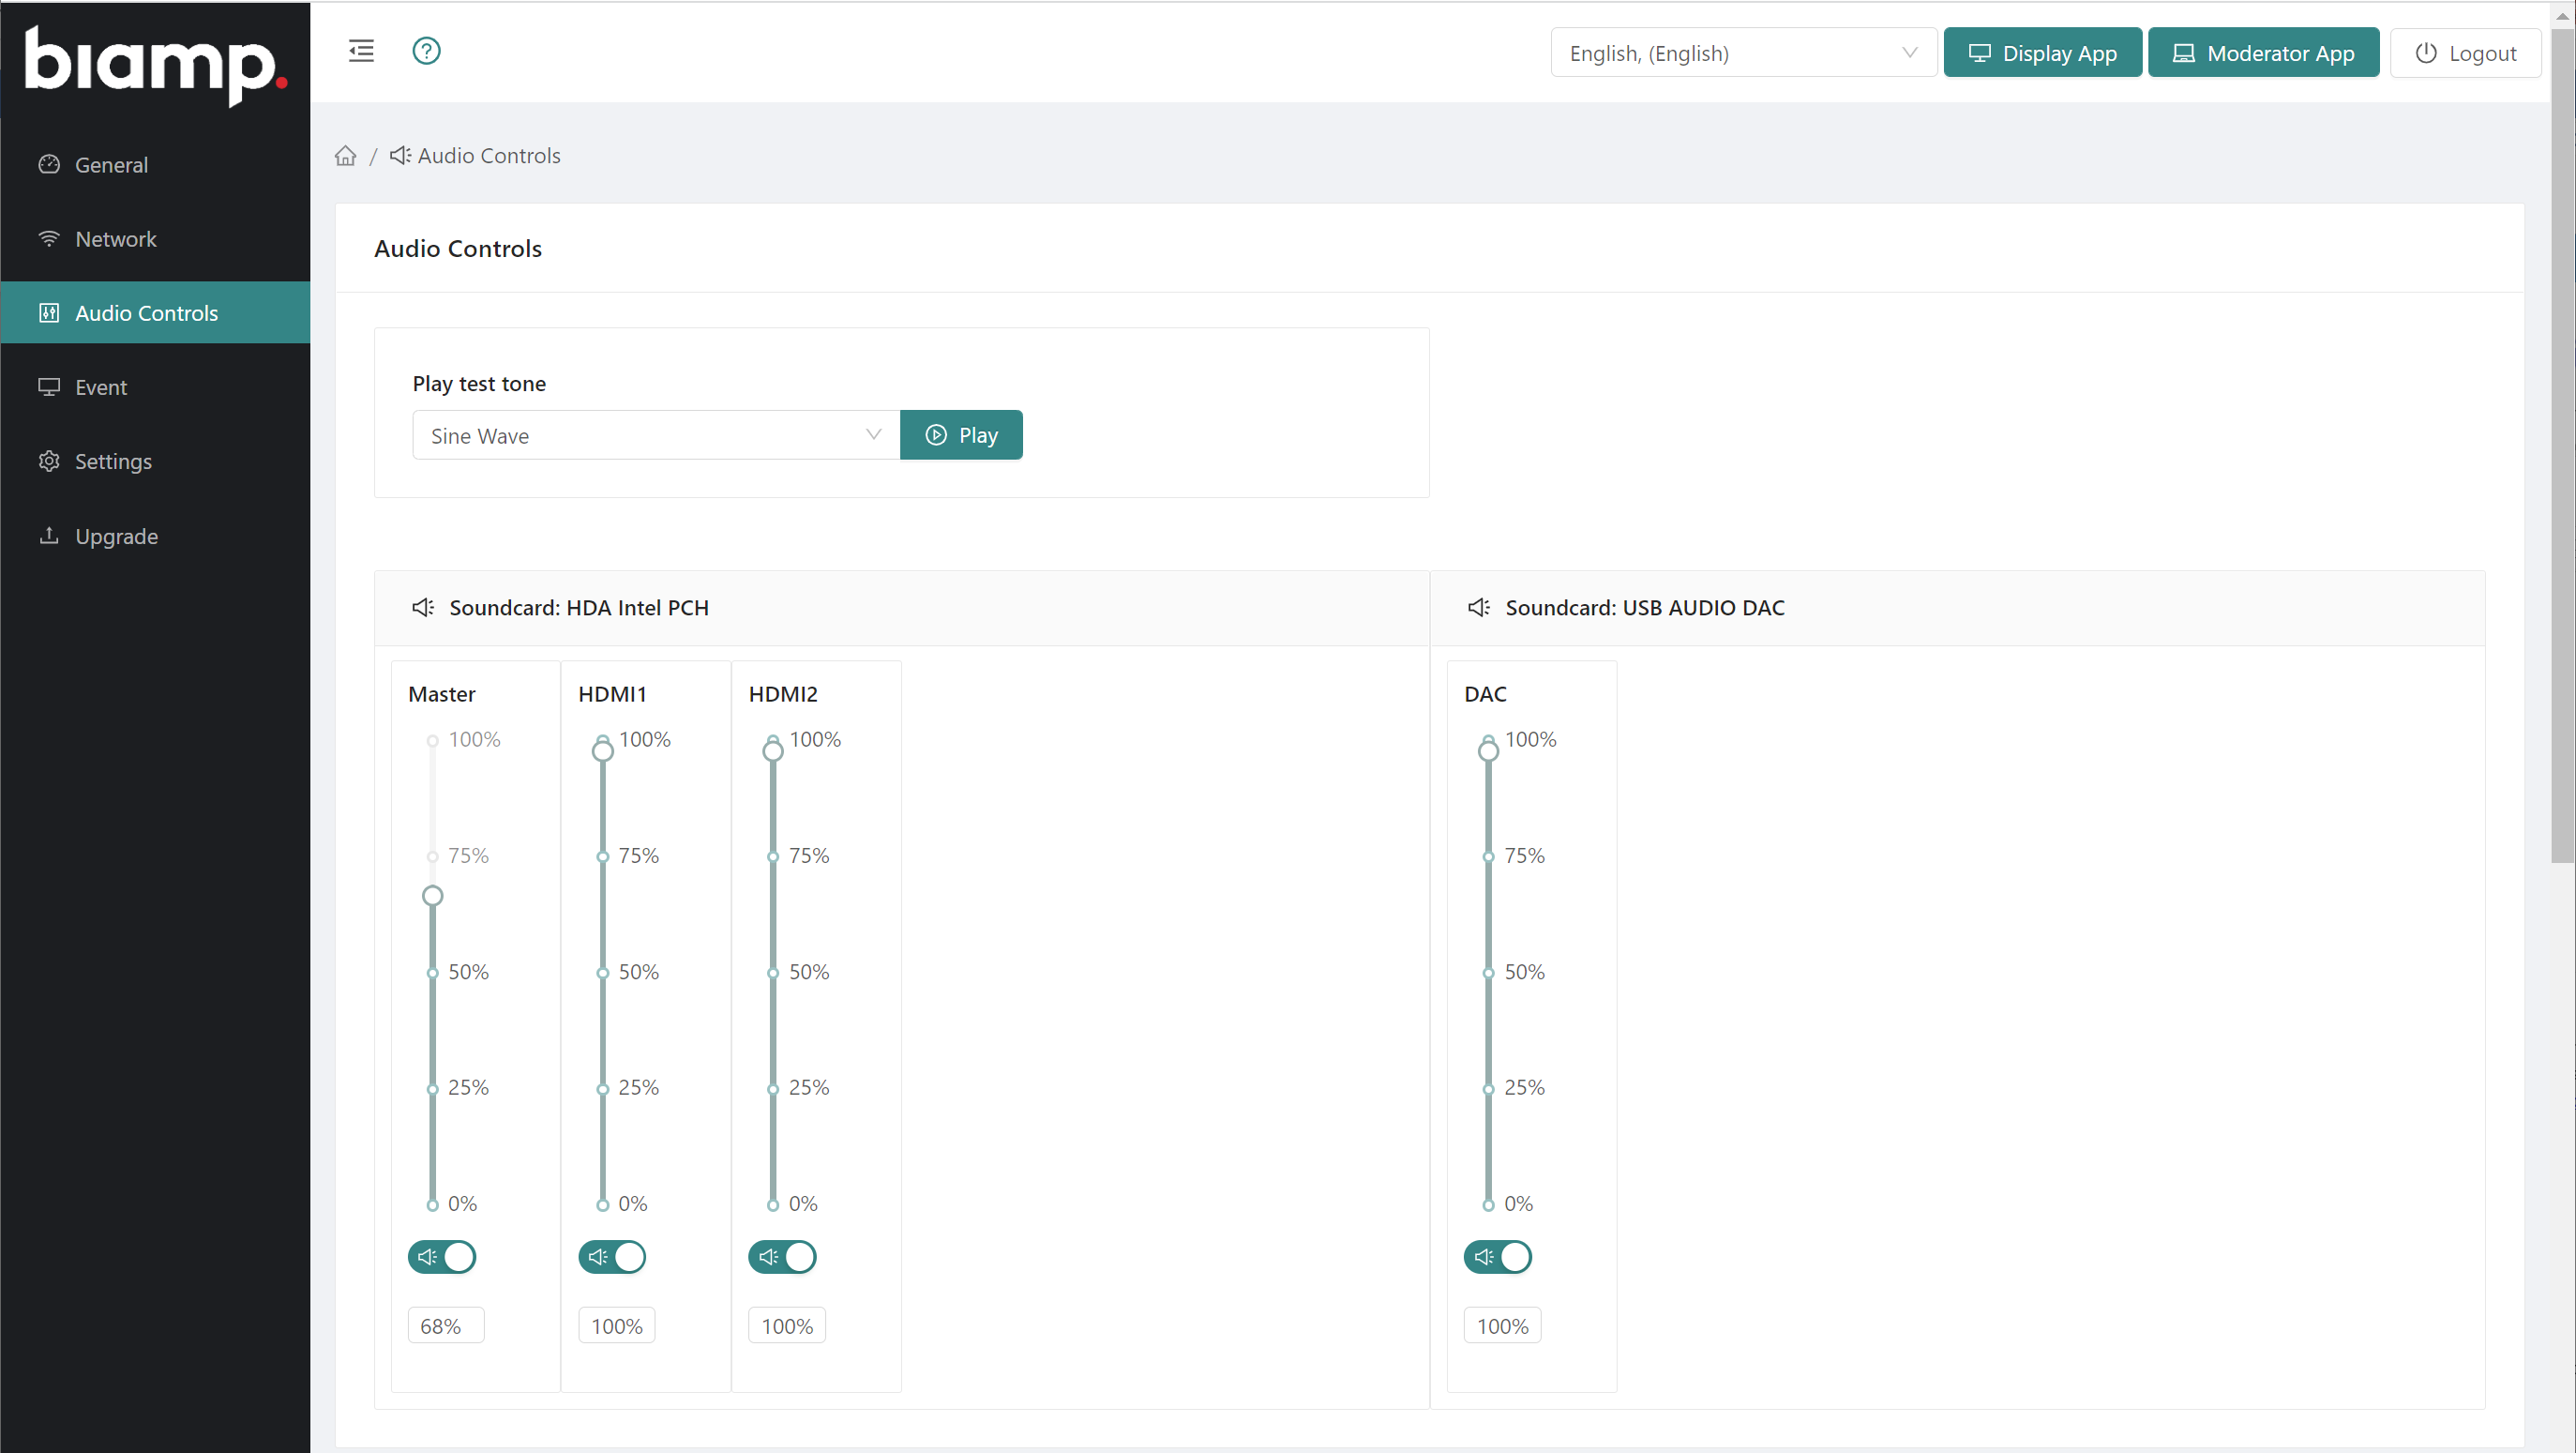
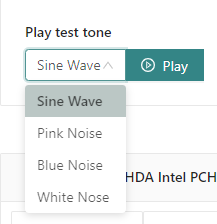
Click the test tone drop-down to select a tone and click play:
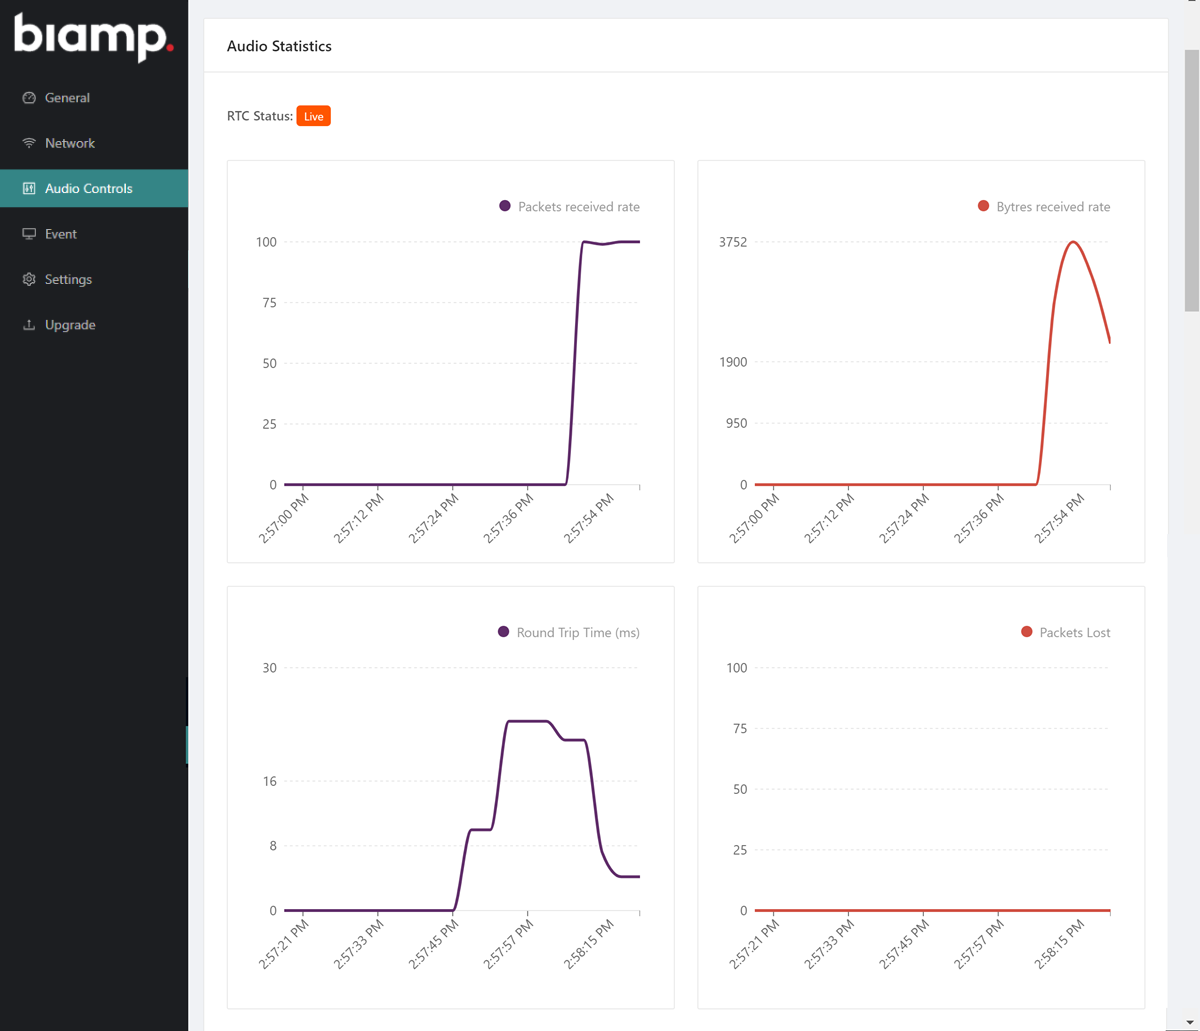
The Statistics page shows speak session state and WebRTC statistics for the active session.
The Event tab shows if there is an event currently active on the ATOM. It also shows if PIN numbers have been activated for the Attendee and Moderator.

The Settings page allows users to change the ATOM's name, enable/disable PIN requirements and edit log-in credentials. Users may also download system log archives and upload a custom logo that will be displayed on the applications during an event.
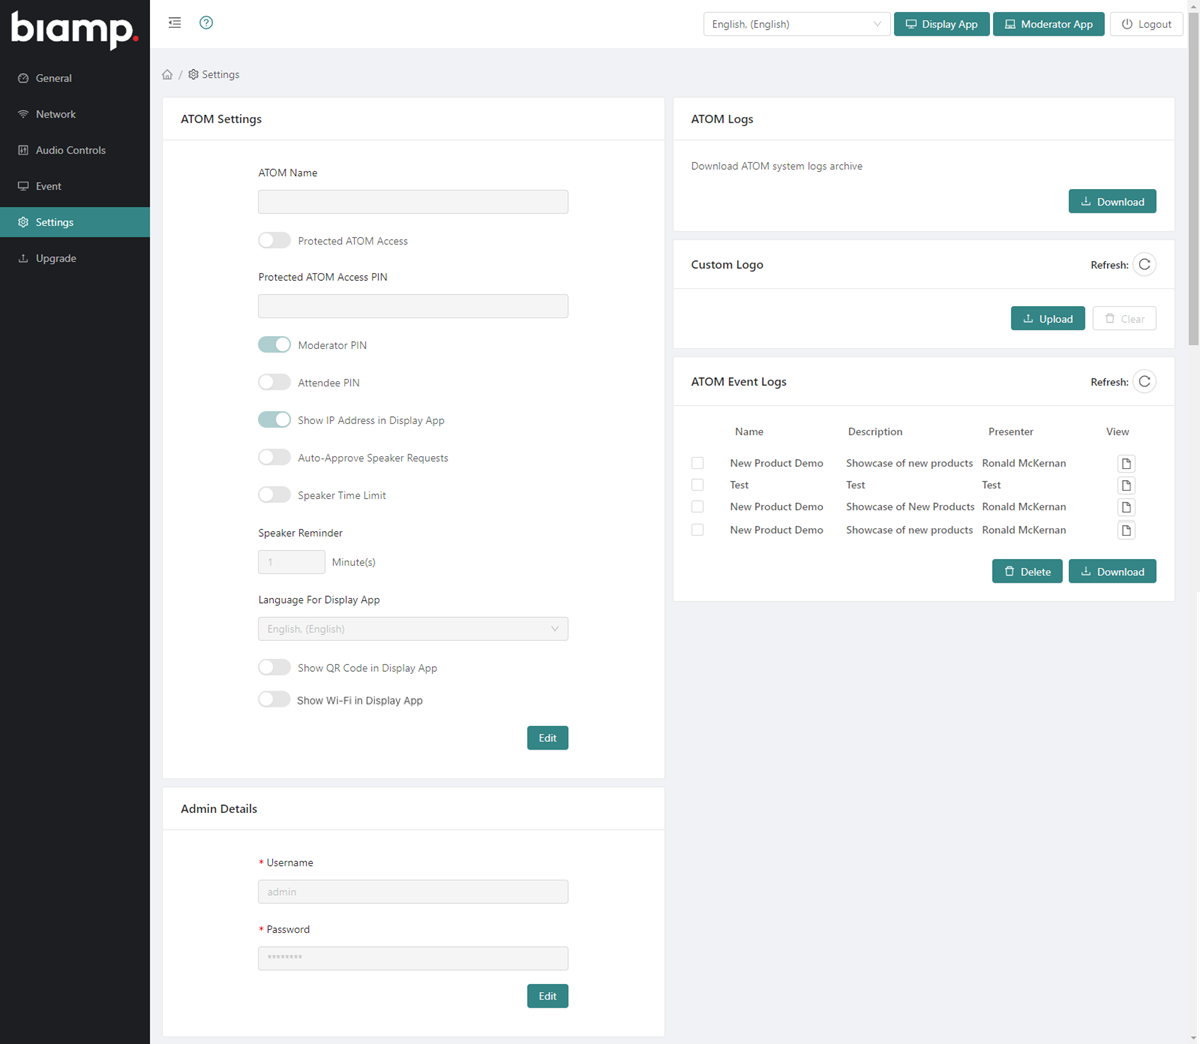
The ATOM name may be changed here (visible on mobile applications). Users have the option of requiring PIN codes for the Moderator and Attendees (either, both or neither.) If enabled, the Moderator will be required to enter the PIN code(s) when starting an Event. Enabling Attendee PIN will require participants to enter a PIN in order to join an event. The Moderator has the option to make this PIN visible on the Display application from the Stats tab on the Moderator application.
Selecting 'Protected ATOM Access' will introduce an added level of security. A PIN code will be required to do the following:
Start Local Event
Update Local/Online Event
Cancel/Delete created (not started) Local Event
Cancel/Delete created (not started) Online Event
Enabling 'Show IP Addresses' will show Network Settings directly on the webapp display for attendees to see. This will show ports that are connected and the associated IP address.
Enabling Auto-Approve Speaker Request will automatically queue requests to speak without Moderator approval. If the organizer/moderators wishes to impose a time limit on speakers, enable 'Speaker Time Limit' and choose a time between 1 and 30 minutes in the field.
The Display Application language may also be changed from this window.
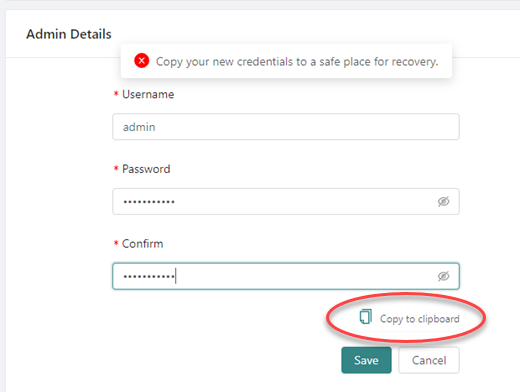
Allows changing the username and password.
IMPORTANT: The user will be prompted to copy and save admin details to another location if they are changed. If credentials are changed and the user forgets the username or password, the user can request a key file from biamp to restore the ATOM device to factory settings. The key will need to saved to a USB drive. Rebooting the ATOM hardware with USB drive plugged in, it will soft reset the ATOM. The ATOM dashboard password, network settings and ATOM setting are reset to factory settings.
The 'Show QR Code in Display' toggle will create a QR code on the display which will allow participants and moderators to join an event by scanning the QR code directly from their mobile via the Crowd Mics Participant App. For information on using this feature from the mobile apps, click the following links:
Event Logs may be downloaded or viewed in PDF format directly from the dashboard. Information about the event, including poll results, number of attendees, mic requests and the presenter's name are available in the log. Users may delete logs from the dashboard as required.
The Custom Logo function allows a user to upload a logo to be displayed in various locations throughout the Crowd Mics interface (must be smaller than 5MB) . Click Upload and navigate to the desired image. Crop the image as required:
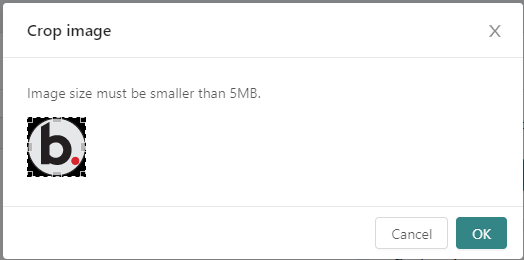
The Custom Logo window will show the image once it has been uploaded and correctly formatted. To remove the image click Clear.

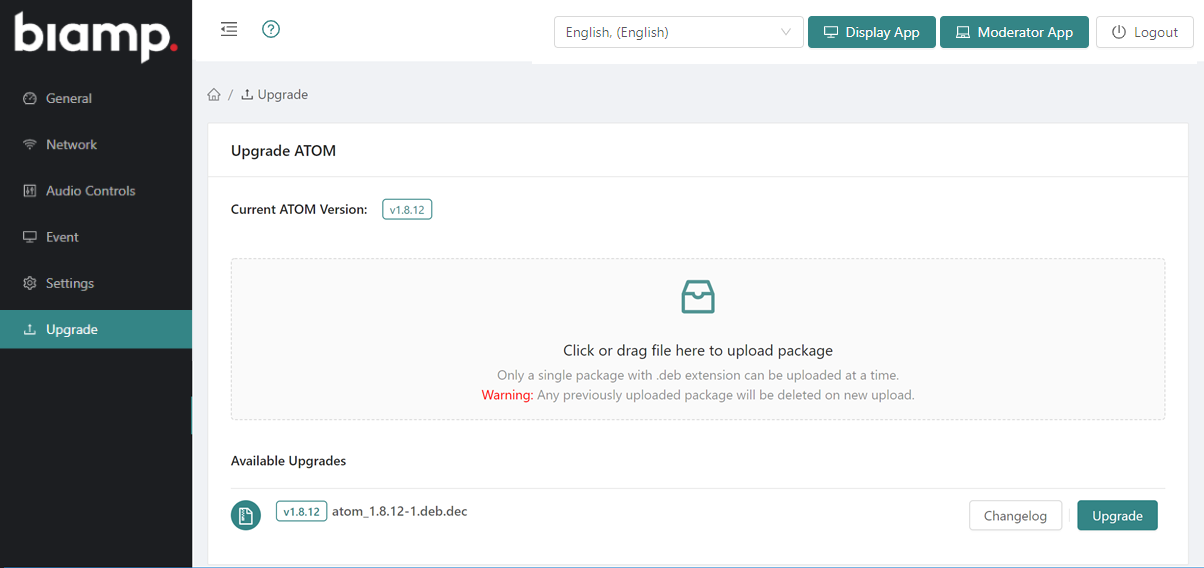
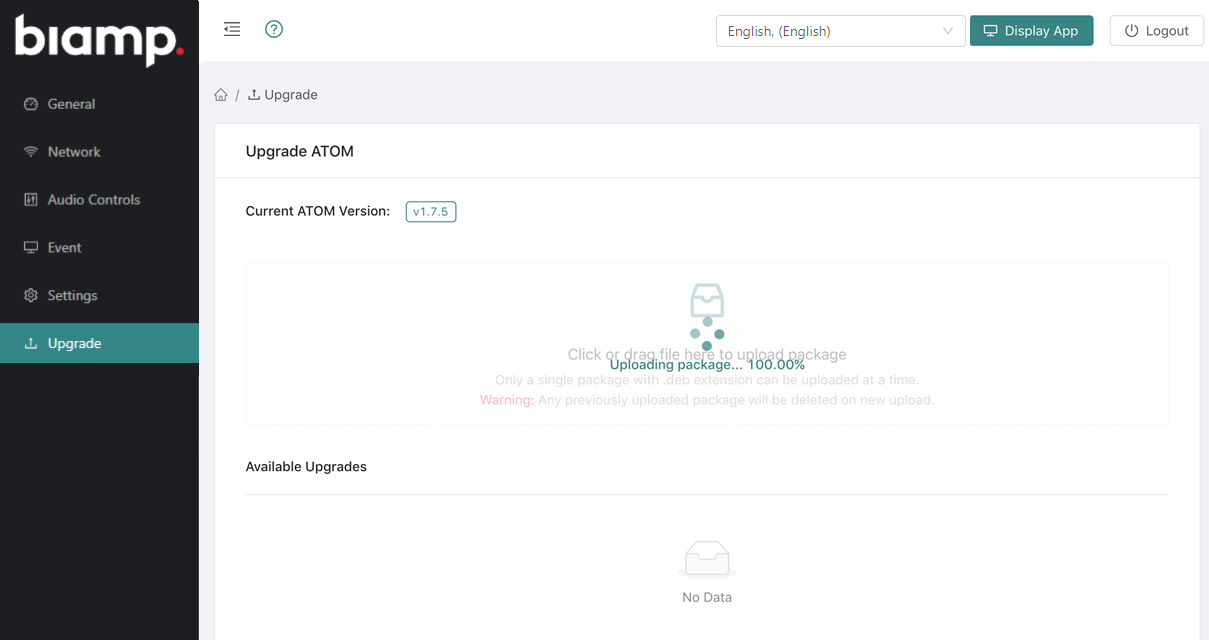
The Upgrade page allows users to upgrade the ATOM's firmware. A laptop/PC is required, as users will need to navigate to the following location and download the latest upgrade: https://www.biamp.com/downloads. Save the firmware upgrade to the laptop/PC by either downloading it from the link or via a USB/thumbdrive, etc. Once the firmware is on the user's computer, connect the laptop/PC to the same subnet as the ATOM.
Log in to the ATOM and navigate to the Upgrade page. Click to navigate or drag and drop the upgrade package to the window shown:
The user will be prompted to confirm overwriting the existing package if present:
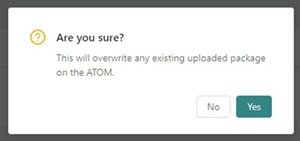
Click Yes to confirm. Upload progress will display as shown below:
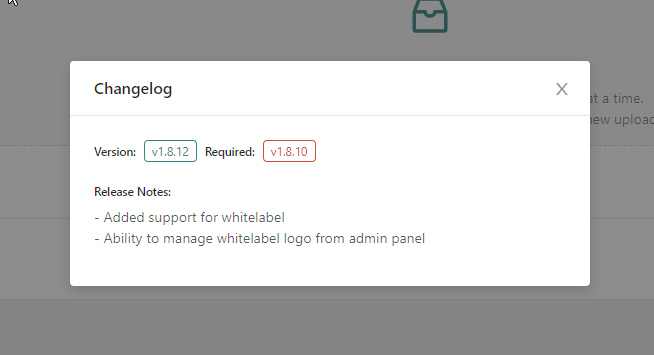
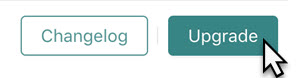
Click Changelog to view notes about the upgrade, to include any previous version requirements:
Once uploaded, users need to click Upgrade to perform the actual upgrade.
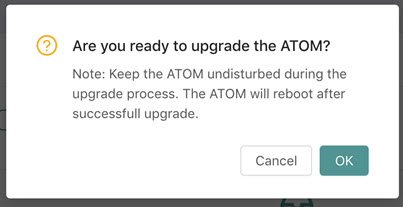
The user will be prompted to confirm the upgrade. Click OK.