The Crowd Mics Moderator application allows the organizer to create an event, engage participants and conduct polls. The Moderator application is available from both a mobile device and the desktop web interface of the ATOM. The following instructions show event creation from the mobile application; the steps required to create and administer an event from the Moderator Application available from the ATOM Dashboard are identical except where noted.
Events may be created as local or online and may be scheduled ahead of time. A local event is one that is hosted in a single venue with participants connected to the venue's Wifi network. An online event allows participants to connect from any location. Either event type will allow participants to engage via a mobile device to speak, ask questions via the messaging function and participate in polls. Online events may be hosted anywhere as long as the ATOM is connected to the internet.
Online events may also be set up to allow multiple 'guest' moderators to participate as well. A guest moderator may host the event in a remote venue, allowing remote participants to join an event via the guest moderator's ATOM as if they were joining a local event.
Note that in order for online participants to see and hear the event, it must be broadcast via an online meeting platform.
The Settings button, the cog icon, at the top right of the application allows changing the user's displayed name, uploading/changing the profile picture and selecting the language preference.
Follow the links below to jump to another topic:
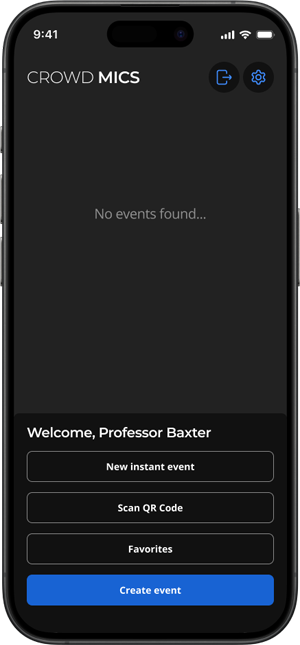
Open the Moderator application and select Create Event to access the Event creating screen.
Note: The moderator's mobile device does not need to be connected to the ATOM in order to create a local event.


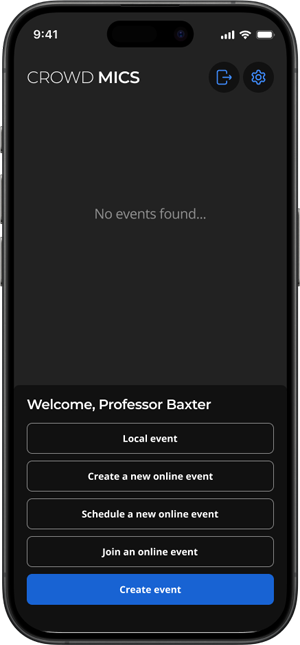
Click Create Event. Users will be given the following options: Create a local event, Create a new online event, Schedule a new online event, and Join an online event.
Alternatively, use the 'New instant event' option to begin an event without any setup.
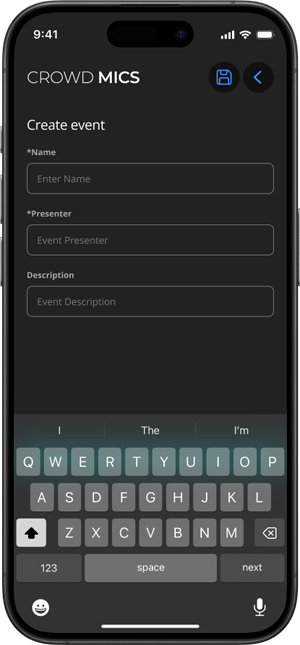
Click 'Create a new local event' and enter information in the provided fields.
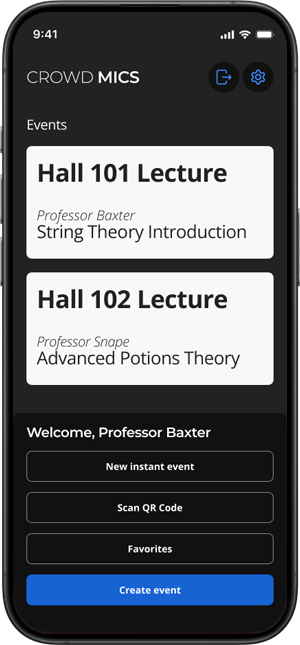
Once an event has been created, it will be displayed on the main screen of the Moderator application.
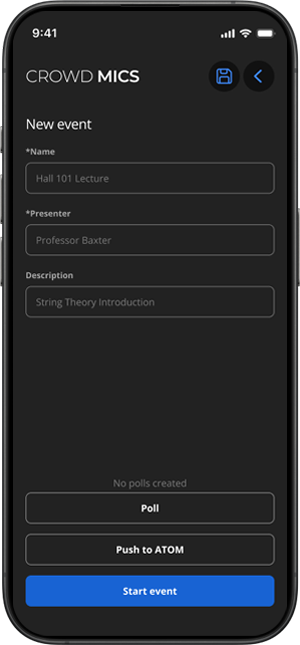
Although the event may be started from the mobile Moderator application if connected to an ATOM, the event must be 'pushed' to an ATOM for another Moderator to start the event or to start at a later date.
Select the event and click "Push To ATOM" to sync the event to the ATOM.
When 'Push To ATOM' is selected, the event is pushed to the ATOM the mobile device is connected to.
When accessed from the Moderator application via the ATOM dashboard, the event dialog will also have options to edit and delete the event. Multiple events may be created and will be displayed on the Moderator's main application screen.
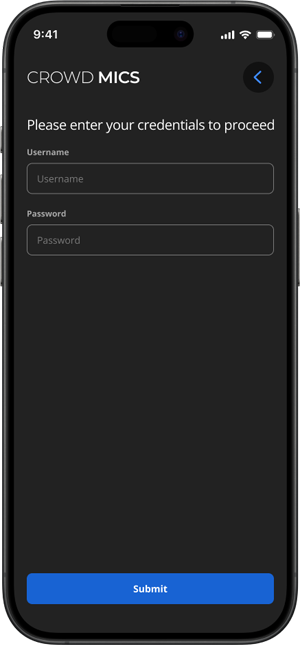
Click 'Create a new online event,' enter your biamp credentials when prompted and click Submit. If you do not have a biamp account, you can create one by going to www.biamp.com. Choose Log In from the navigation menu and then Sign Up to create an account. A license is also required to create online events. The Moderator's device must be connected to an ATOM to create an online event.

Enter information in the provided fields.
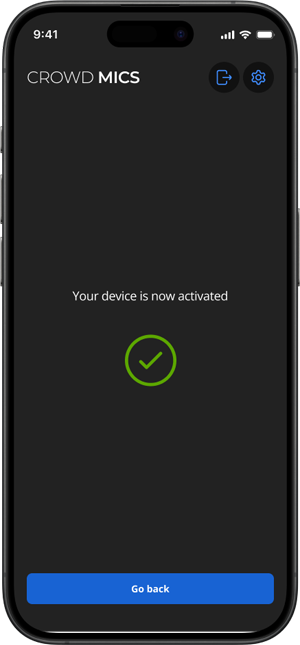
If the ATOM has not been activated via licensing.biamp.com, the user will be prompted to do so.
While confirming ATOM activation from the Moderator mobile application, clicking 'Yes' will automatically activate the connected ATOM. If confirming ATOM activation from the Moderator desktop application, an activation URL and activation code will be displayed. Click the link to licensing.biamp.com/activate. Enter the code and the ATOM will be activated.
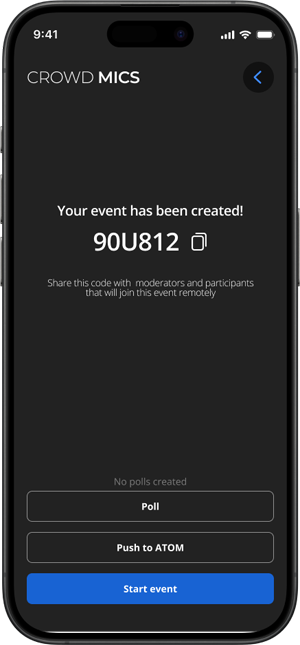
When the event is successfully created, a code is generated that may be passed on to other moderators and participants. When the code is generated, the clipboard icon allows the event creator to copy and paste the code as desired for email, text, etc.
For additional details on this process refer to the article Setting up Crowd Mics for online events.
Online events may be scheduled so the ATOM is reserved at a particular time and date.
Click Schedule a new online event,' enter your biamp credentials when prompted and click Submit.
The first screen will allow the Moderator to select the event day. Any events already scheduled for that day will be listed below the calendar.

Next, create a title, add a presenter and provide a description of the event. Users may either leave 'all day' selected or toggle it to assign a specific time.
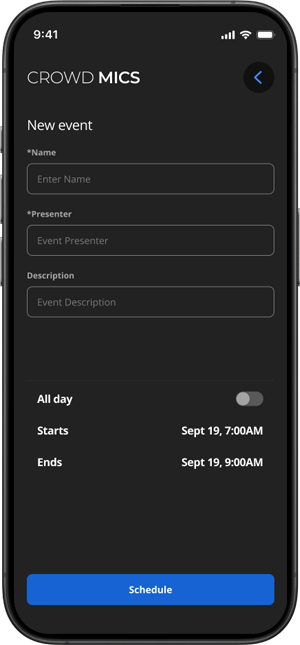
Click 'Add' to finalize scheduling the event.
If an event has already been scheduled for a particular time and date, that time and date will not be available in the date picker.
Users will be notified that the event was successfully scheduled.
All ATOM connections and configuration must be done prior to starting an event. See Network Administrator's Guide for more information. Make sure the mobile device is connected to the same WiFi network as the ATOM before attempting to start an event if moderating the event from a mobile device. The Moderator may switch between ATOMs if there are multiple devices in a venue.
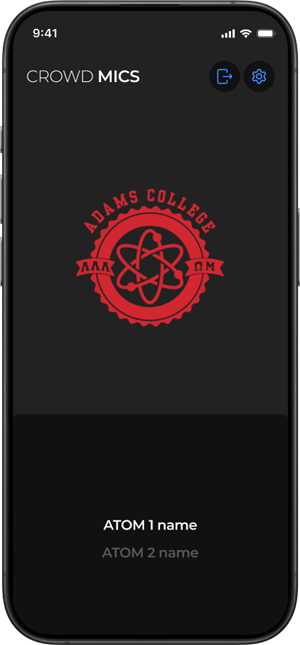
Connect to the desired ATOM. A list of events previously-synced to the selected ATOM will be shown.
Note: Events created on the Moderator's mobile will be shown as well, even if they have not been pushed to an ATOM. By default these events will be started on whatever ATOM the mobile is connected to.
2. Choose an event to be taken to the event details screen.

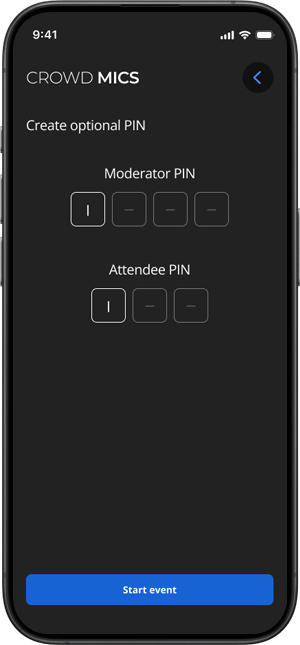
As an added security measure, the Moderator or Attendees can be required to enter a PIN code prior to accessing/joining an event. PINs may be required or optional; this function is enabled/disabled from the ATOM dashboard under Settings. Required PIN(s) will have an asterisk in the field.
At any time during the event, connected participants may 'ask' to speak from the Crowd Mics participant application. The moderator will receive a notification at the bottom of the screen in the Mic tab. Accessing the Mic tab will show a queue of participants that wish to speak. The moderator may also automatically approve attendee's request to speak (Enable Auto Approve button). Attendees will be automatically placed in a queue and will be given an indication when it is their turn. This may also be enabled in ATOM Settings.
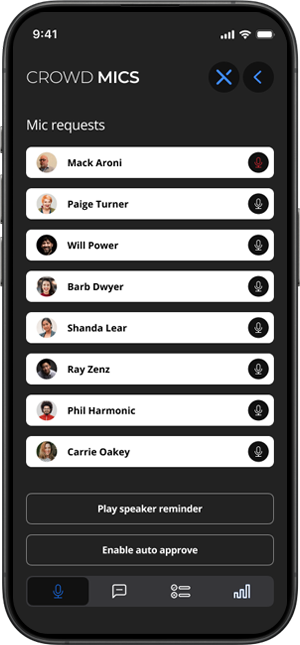
If manually enabling a request, tap the name of who you will allow to speak (the participant will receive notification and be allowed to speak into their mobile device and be projected over the connected A/V system.)
A moderator may end a participants speaking session at any time. The participant will be disconnected and the moderator may allow another participant to speak.
The amount of time a speaker is allowed may be limited if desired (1 to 30 minutes) and is set in ATOM Settings. An audio 'reminder' will play over the A/V system when the allotted time has expired. The Moderator can stop the reminder if they choose to let the attendee continue speaking. The Moderator may also choose to play the reminder early.
Crowd Mics gives participants the opportunity to 'text' the moderator questions at any time during an event. The moderator will receive a notification at the bottom of the screen in the Comment tab. Opening the Comment tab will show a queue of participants and their questions. The moderator may also push questions to the Display App by tapping the TV icon next to the question.
Enable Auto Publish automatically publishes comments to the Display App when they are received. The Moderator will not be able to vet comments prior to them pushing to the Display App while Enable Auto Publish is active.
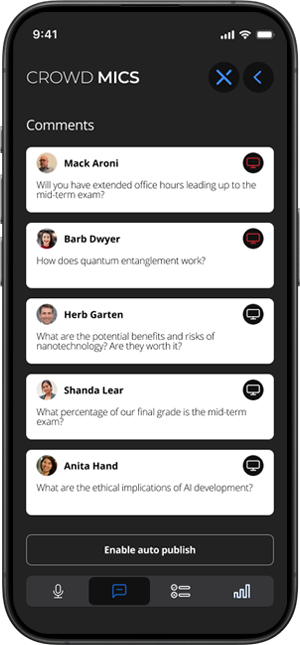
The Comment function is not interactive (the moderator cannot message the participant back and the intent is that the moderator will answer questions live.) The ATOM's display application must be active to publish comments.
The moderator may create numerous polls for an event, and doing so while actively engaged in an event may not be practical. Polls may be generated offline by creating an event without starting it. Once a moderator starts the event, the pre-created polls will be ready to use. Poll answers may be Yes/No, Multiple Choice or Multiple Response.
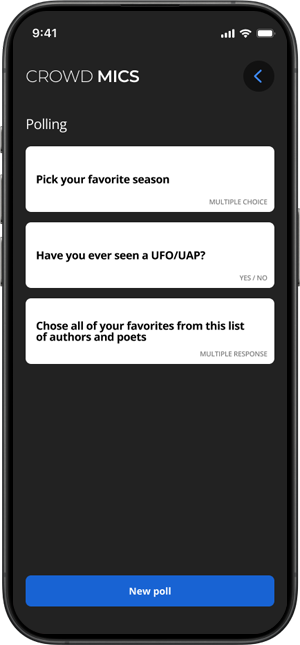
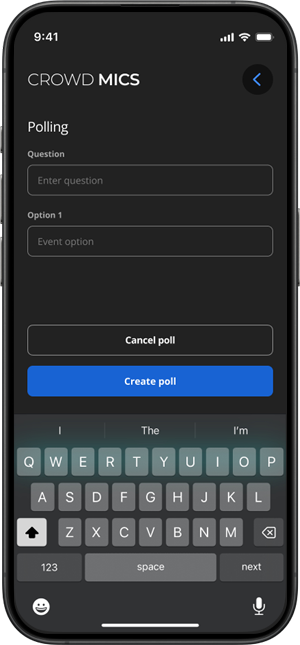
The moderator may also conduct polls at any time during an event by clicking the Poll icon.
Click Start Poll to push the poll to participants mobile devices.
As poll results become available, they will be displayed on the moderator's device as well as the venue display connected to the ATOM.
The moderator may end the poll at any time.
Share Result will project the results to the participants' devices and the venue display connected to the ATOM. The moderator will then have the option to reuse or exit the poll.
The stats tab will show various information about the current event, such as the number of users, the event name, and the event description. If the Attendee PIN is required, the Moderator may make this PIN visible on Display application.
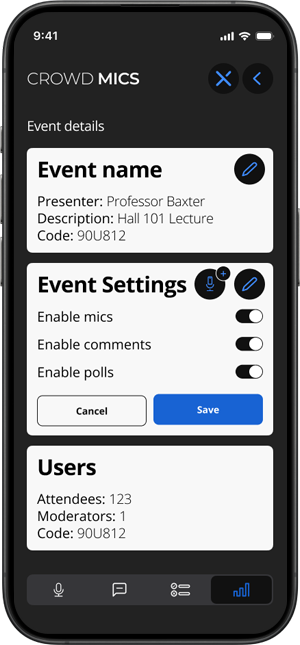
The two buttons to the right of the event settings header provide the option to change and update the name of the event and update the display image for the event.
The Enable mics, Enable comments, and Enable polls toggles control what options are available for participants and moderators for that event. These toggle options directly correlate with the options available under the Dashboard in the Settings section.
When any of these options are toggled to the off position, the corresponding menu button on the bottom bar will be removed for participants and moderators.


As noted in the previous section, a 'host' moderator that creates an event may allow guest moderators access to the event, giving them the same abilities as the moderator who created it. The host moderator must create and distribute a code when creating the event. The guest moderator's mobile device or moderator desktop application must be connected to an ATOM to join an online event as a moderator.
The guest moderator may host the event in a remote venue, allowing remote participants to join an event via the guest moderator's ATOM, as if they were joining as local event.
To join an online event as a guest moderator, first connect to an ATOM.
Choose Create Event and Join an online event.
Enter the six-character code. This code must be provided by the moderator that created the event.
After the guest moderator enters the correct event code they will be able to join the event. The guest moderator will be prompted as to the status of the meeting (started or not started). A guest moderator may not start an event. If a 4-digit pin was also set by the host moderator, the guest moderator will have to enter it.
After joining the event, the guest moderator may perform all the same functions as the host moderator except ending the event; participants connected in the 'remote' venue may now also connect to the event. Alternatively, participants in the remote venue may also connect to the event online (and not directly to the event via the Wifi the ATOM is connected to.) See Mobile Application - Participant for more information.
The guest moderator may leave the event at anytime by selecting the 'X' Icon. The guest moderator may stop the event (on their ATOM only) by selecting the chain link icon.
![]()
NOTE: if the guest moderator 'leaves' the event, the event will still run on the connected ATOM allowing participants to continue engagement in the event. Choosing 'Unjoin' will disconnect the ATOM from the event, therefore all participants connected to the event via that ATOM will be disconnected as well.